There are different tools that help people who cannot see well walk around safely. One of these tools is called a white cane. There are different types of white canes, and they can help you move around by yourself.
Here’s a guide to help you learn how to use a white cane.
What is a White Cane?
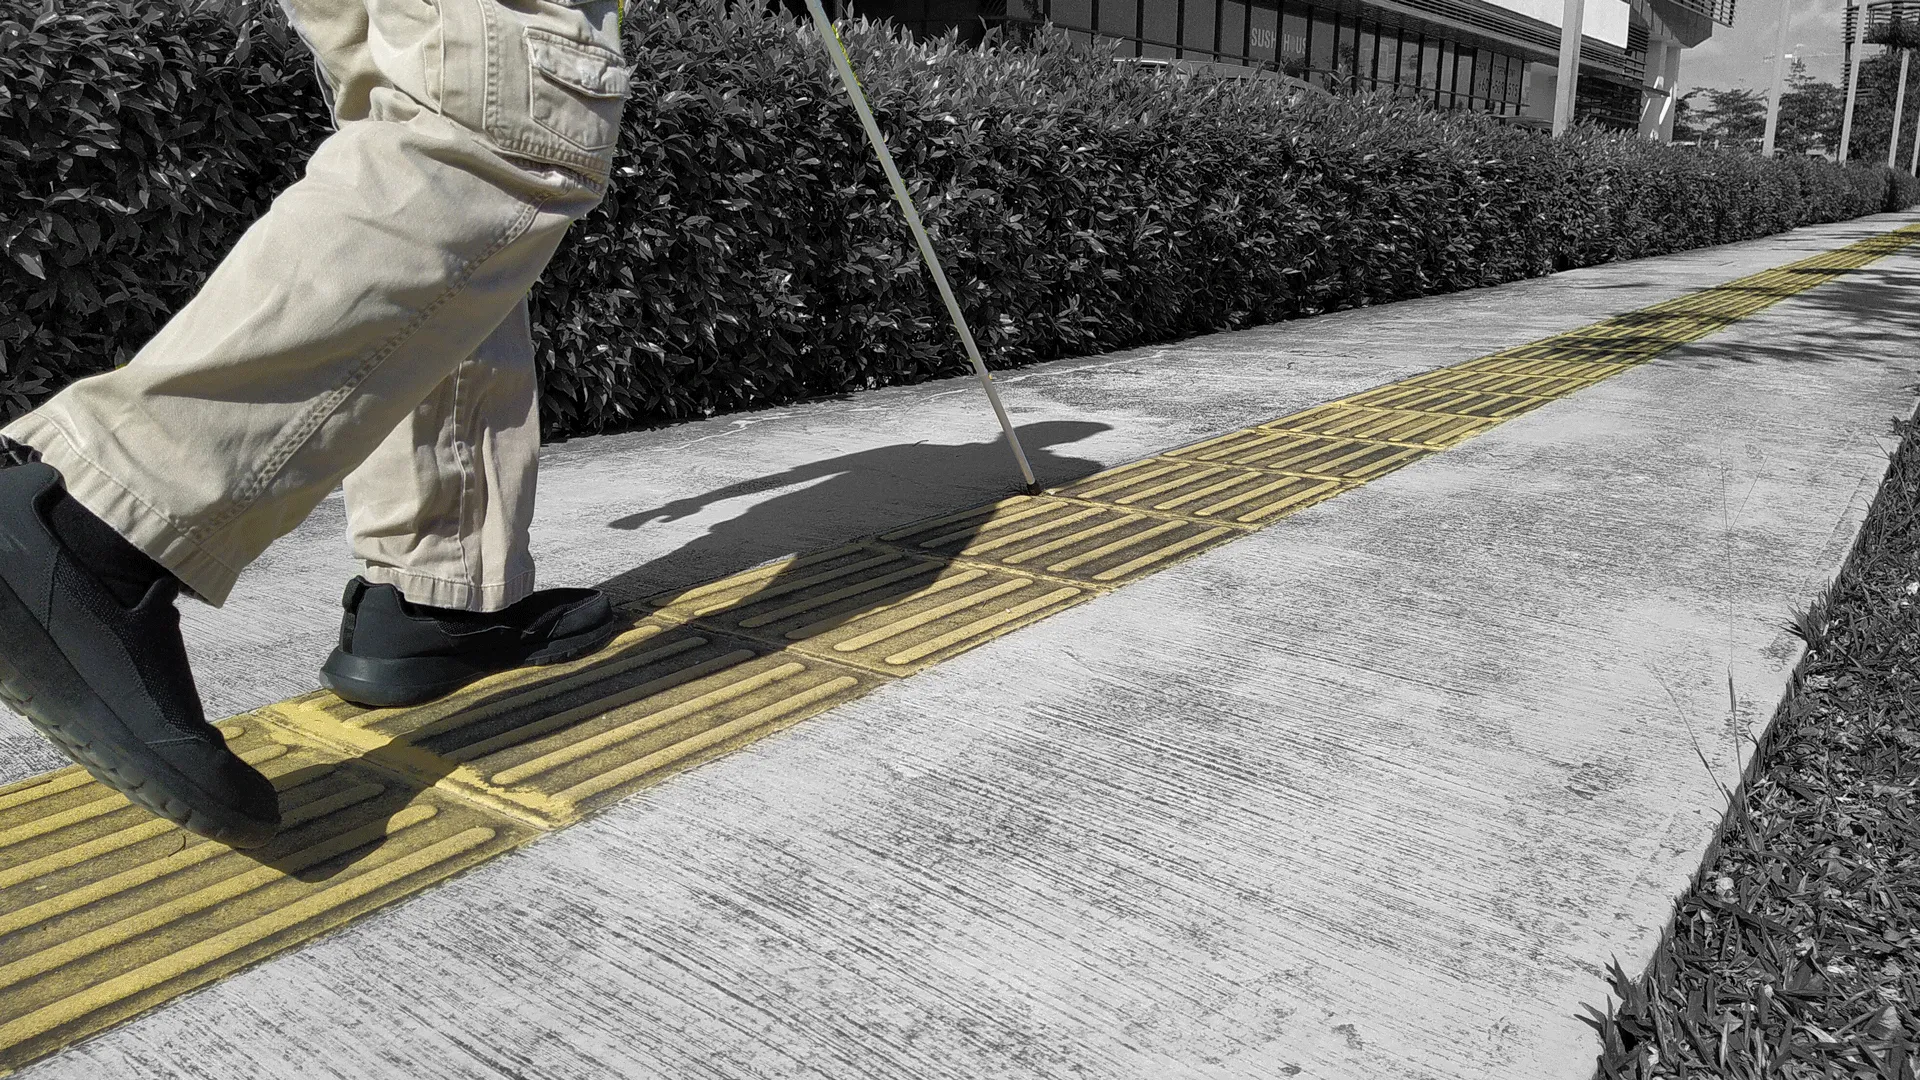
A white cane is a special stick that helps people who can’t see well to walk around safely. People of all ages who have low vision or blindness can use it. There are different kinds of canes depending on how much someone can see. White canes are used all over the world so people recognise it.
Using a white cane is a choice and some people use a guide dog instead.
With a white cane, you can feel what’s in front of you and it also helps protect you from bumping into things. People will also know to be extra careful around you because they know you might not see very well.
How to Choose a Blind Cane?
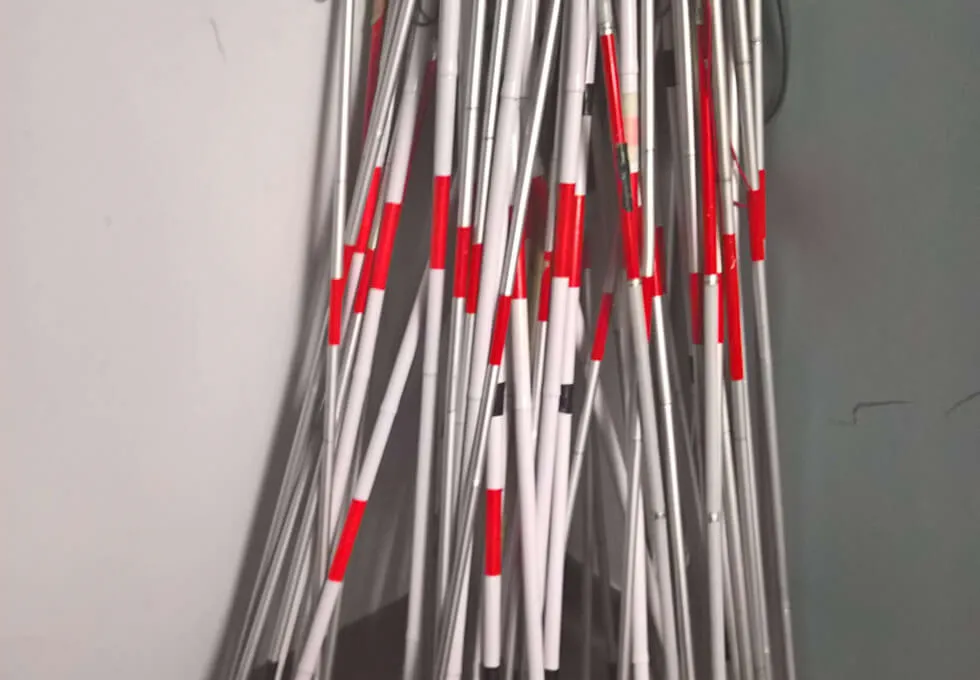
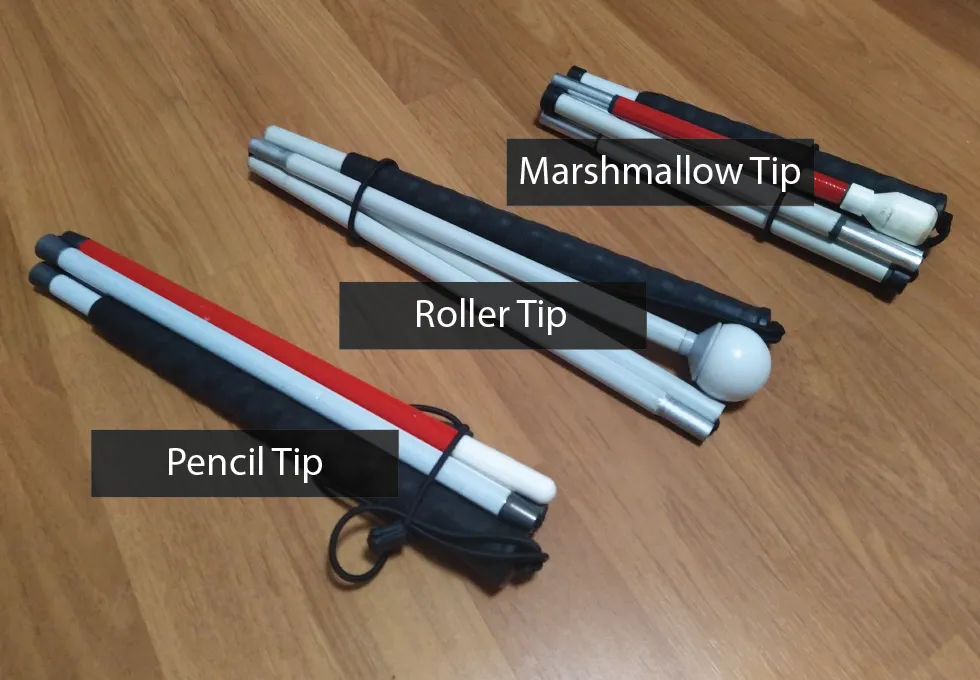
There are three main types of canes for the blind: mobility, identity, and support canes.
Mobility canes are the most widely used and come in both solid and foldable designs. They are primarily used to detect obstacles and guide the user while walking.
Identity canes are particularly useful for those with low vision who can still see in some situations. They are typically smaller in diameter, often brightly coloured or have identifying symbols, indicating the user’s visual impairment.
Support canes are sturdy walking canes with substantial handles meant to support your weight that provide additional support and stability for those with more significant mobility issues.
Understanding the differences between these types of canes can help visually impaired individuals choose the one that best suits their needs.
For more information on how to pick the correct length of cane, read our other blog post here.

Learning How to Walk with a Cane
Learning to use a white cane is important for people with low vision or blindness. Holding and using the cane correctly requires the right techniques, which can be taught through courses or by working with an orientation and mobility specialist (O&M).
When learning how use a white cane, the length of your cane should be fitted to your height, and it should go from the floor up to your sternum when holding it upright.
Orientation and mobility ultimately comes back to people who are blind or have low vision by learning the skills that help them understand where they are and how to get where they want to go. Vision Australia has qualified experts called orientation and mobility specialists who can help those who are blind or have low vision learn how to navigate their environment, become more aware of their surroundings, and learn how to use mobility aids. You can learn more about this by visiting their website or contacting them at 1300 84 74 66 or info@visionaustralia.org.
The process of learning to use the cane is divided into four stages:
- Beginning to learn.
- Concentration required.
- Without concentration.
- Proficiency.
Once you reach the fourth stage, you can use your cane correctly without thinking about it, and you can safely rely on it to guide you.
Jenny Lay-Flurrie, Chief Accessibility Officer, Microsoft
Tips for Using a Cane
To use a white cane, you need to hold it correctly. Hold it in your dominant hand, with your index finger pointing down the shaft and your thumb and other fingers wrapped around it. This technique is called shaking hands with your cane. Once you’ve got the right grip, you can begin to move your cane. Your arm should remain still, and all movement should come from your fingers and wrist. Move your cane in a sweeping or arcing motion that’s about the same width as your shoulders or an inch wider than your body.
There are two techniques for using your cane: the constant contact technique and the touch technique. With the constant contact technique, you let the tip of your cane constantly slide across the ground. With the touch technique, you tap the tip of your cane with each arc, but you should never lift the tip of your cane more than an inch off of the ground.
Make sure that you’re moving your cane in rhythm with your feet. If your right foot is forward, then the tip of your cane should be touching the ground on the left side of your body. If you’re tapping your cane, there should be one tap with each step. Keep a light touch, as the lighter you touch something with the tip of your cane, the more information you’ll be able to get from it. The goal is for your cane to become your eyes and gather information about the world around you.
We’ve all been there and understand that there is a learning curve to learn how to use white canes effectively and some would prefer the assistance of an electronic or smart cane, so we recommend checking out BAWA Cane.
Get BAWA Cane
The BAWA cane is a clip-on device that turns any white cane into a smart cane, providing an added layer of safety and functionality. With features like obstacle detection, fall detection, and GPS tracking (via BAWA Cane app), it’s an excellent investment for anyone with a white cane or adapting to life without sight.
More information about BAWA Cane here.


")
In summary, learning to use a white cane can be a helpful and empowering step for individuals with visual impairments.
Here are some additional tips on how to get started:
- Consult a professional: Before using a white cane, it’s important to get guidance from a professional orientation and mobility specialist. They can teach you proper techniques for using the cane and provide advice on how to navigate different environments.
- Practice in a safe environment: It’s best to start practicing in a safe, controlled environment like an empty parking lot or a hallway with no obstacles. This will allow you to get comfortable with using the cane before moving on to more challenging environments.
- Use your other senses: While the white cane provides valuable feedback, it’s important to also use your other senses, such as hearing and touch, to navigate your environment.
- Start with basic techniques: Begin with basic techniques like the two-point touch technique, where you tap the ground with the cane in a rhythmic pattern, or the constant contact technique, where you sweep the cane from side to side in front of you.
- Build your skills: As you become more comfortable with the basics, gradually add more advanced techniques like diagonal and modified two-point touch techniques.
Remember, learning to use a white cane takes time and practice. With patience and determination, you can develop the skills you need to navigate the world around you with confidence.
Till next time.
Facts and Guide
How to pick the correct length of white cane?

Tech Talk
ChatGPT and Empowering Persons with Disabilities
Facts and Guide
What to Know About Canes for the Blind
Learning to use a white cane can be overwhelming, but this post breaks it down into manageable steps. Highly recommend for anyone who’s new to using a blind cane.
As someone who’s recently become visually impaired, this post on learning to use a white cane was exactly what I needed. Thank you!
Great resource for anyone learning to navigate with a white cane!
Great article! Thank you for addressing this important topic on how to learn to use a white cane!
Thank you for shedding light on the significance of white canes and their role in fostering independence for individuals with visual impairments.
This is an outstanding resource for anyone looking to learn how to use a white cane effectively. Your explanations and illustrations make it easy to grasp the techniques involved. I particularly appreciate the section on common misconceptions about white canes, as it helps dispel myths and promote a better understanding among the general public. Kudos to you for creating such an informative and inclusive post!